This was a fantastic project to be a part of as it just goes to show what we can achieve with customers when they are looking at a DIY build.
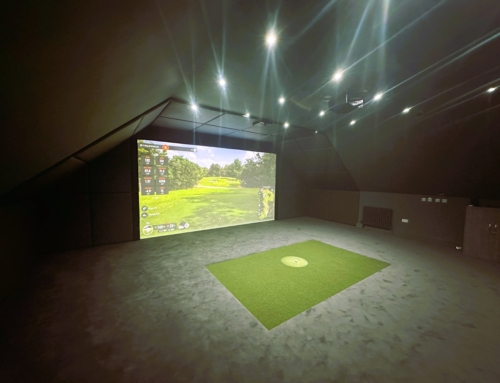
We started this journey with the client coming to our Oxfordshire showroom to see various components and what would work for his staff breakdown area. A great idea and also a great social area for the clients own customers to enjoy their time at his company.
So we had the space shown to us and the client opted for our DIY CAD consultancy package. This is proving ever popular as its a great way to receive all the information you need with our expertise to make your DIY golf simulator build run smoothly. So once we had decided on components we then produced a cad layout drawing, an electrical layout drawing and a cable run drawing. These three drawings gave the client and his trades all they needed to make sure this self installation ran smoothly.
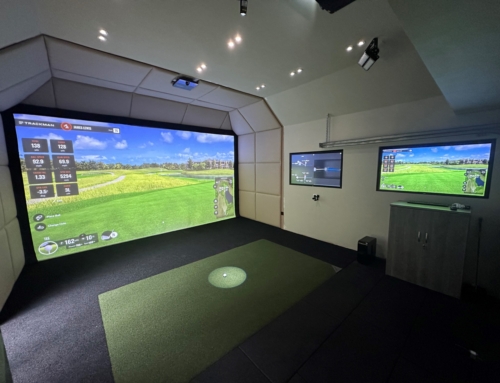
Trackman 4 was the chosen device. The client was familiar with Trackman and its user interface so seemed the obvious choice. Trackman 4 was chosen so the client had flexibility to move the unit for left handed players as the hitting position was off centre due to the room width.
Our ultra impact screen with top blackout and trim kit was the perfect choice to frame the Panasonic projected image perfectly. We opted for this as more projected height in the narrower setup would enhance the realism of the ball flight, especially when hitting wedges.
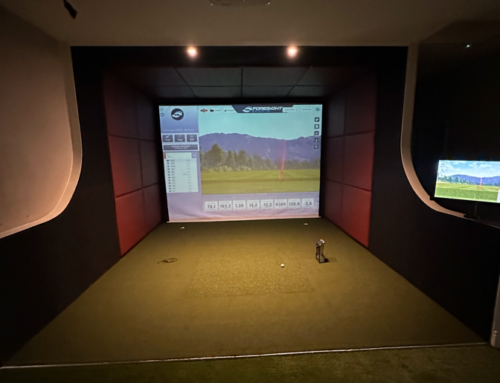
Our leather foam tiles are ideal for DIY installs. They provide a great finish and are easy to cut and spray adhesive in place. Not to be confused with foam tiles, these are much more durable.
Our fan cooled pc cabinet and 32″ touchscreen to sit on the side pillar made for a great location and fit.
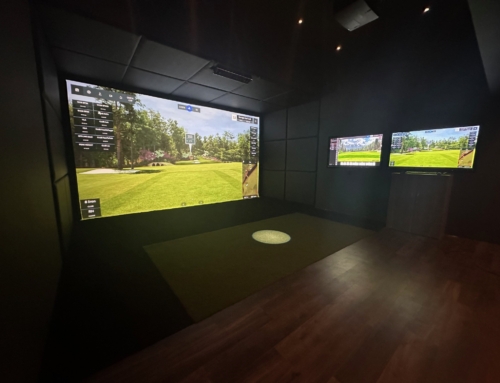
Overall a great example of a DIY Golf Simulator Installation which is made simple with our DIY CAD consultancy service.